
Boys' Piñata Party
{Decor}
Theme: Piñatas and candy; Guest list: Boys, ages 6-10
Invitations

What you'll need: Love vs. Design's printable invitation, computer with a word processing program, printer, printer paper, cardstock or construction paper in your party colors, scrapbooking or edging scissors, regular scissors, ruler (optional), double-sided tape or glue

What to do: Print and, with regular scissors, cut out the front portion of the invitations. Measure the cardstock against the invitations and cut with regular scissors (I just eyeballed the border, didn't measure it with a ruler, but you can if you want). Type any party instructions and details not included in the invitation basics in a word processing program (like Word or Notepad) and print. Cut these out with scrapbooking or edging scissors. Glue or tape the invitation on one side of the cardstock and the detail paper on the other side. Voila! Adorable, personal invitations.
Ice Cream Cone

What you'll need: Large bag of dum-dums or other small lollipops, styrofoam ball, tan or yellow construction paper, ruler, pencil, regular scissors, wire cutters or other strong scissors, tape, base container (I reused an old frosting jar)

What to do: First, cut off most - but not all! - of the stick from each lollipop. Then push the lollipops into the styrofoam ball, working your way around until a little more than the top half of the ball is covered.


Now, set aside the lollipop ball and work on making the ice cream cone. Measure your construction paper around the sides of your base container and cut, leaving enough overlap to tape the sides together. Use the ruler and pencil to create the lines found on a regular store bought ice cream cone. Align this piece on the base container and tape in place. To make the top of the cone, the part that sticks out and actually holds the ice cream, set the styrofoam ball in the base container and measure the construction paper around it, so it overlaps the base paper a little and is flush against the lowest layer of lollipops. (Sorry if this is confusing. I had a bit of trouble with this step and didn't take any photos.) Cut, make the ice cream cone lines, and tape in place.
This should be your end result - a great candy centerpiece:

Mini Piñatas
What you'll need: Colored tissue paper sheets (full size), toilet paper tubes, scissors, tape, double-sided tape, glue, ruler, string, ribbon, candy for filling

What to do: First, cut small squares of tissue paper to cover the bottom of the piñata. Tape the square over the bottom of the toilet paper tube, then make a small hole in the middle of the square. Run a piece of string through the hole and tape it to the square. This will be the release for the piñata.
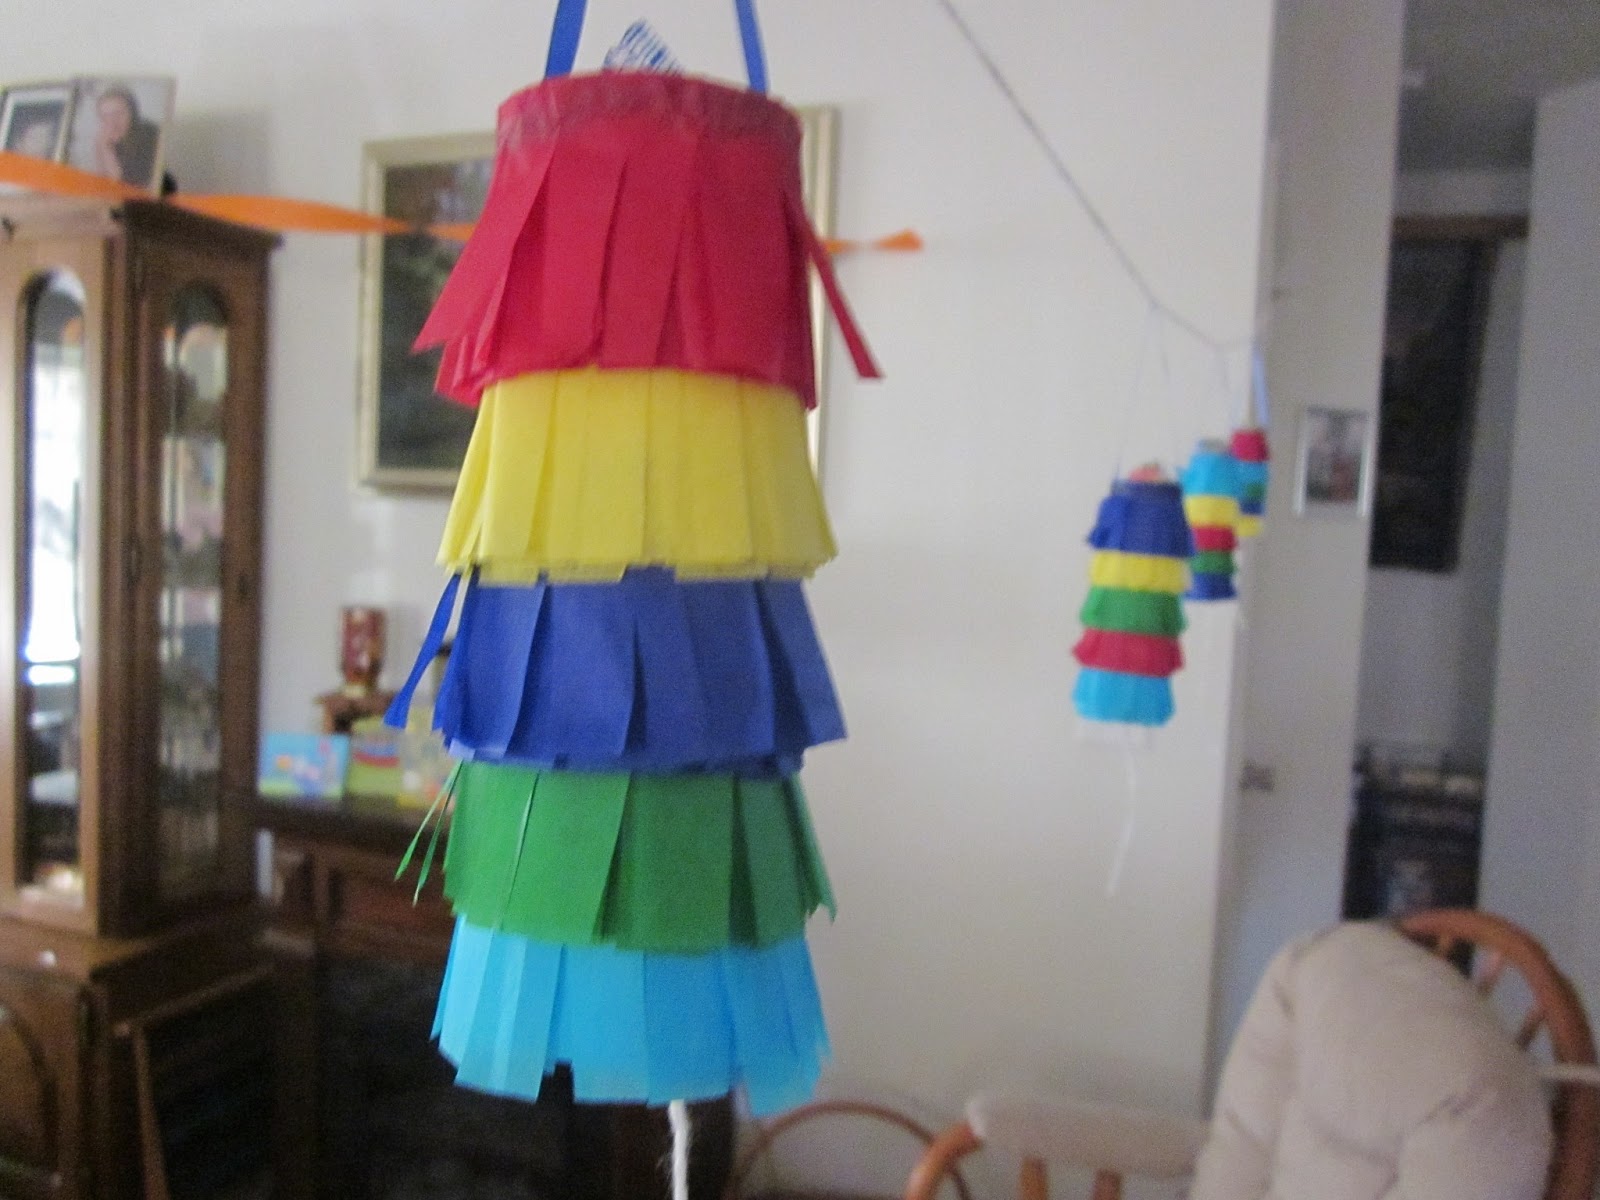
The tissue paper fringe is actually long strips glued around the toilet paper. Figure out how many layers/colors you want on each piñata, and then use that to figure out how wide your strips should be. Remember that the strips need to overlap each other. Start with the bottom color, so for a piñata like the one above, start with light blue. Cut the tissue paper lengthwise into strips. Cut fringe on one strip, then use the double sided tape to secure it along the bottom edge of the toilet paper tube. Using small amounts of glue, continue wrapping the strip until the entire strip is wrapped. Allow to dry while you complete this step on the other piñatas, as many as you want.
Repeat the fringe steps for each layer until the toilet paper tube is covered. Then, cut a piece of ribbon for each piñata, and tape to the inside. Fill the piñatas. You can hang the piñatas however you like. I made a garland for mine - just line them along a piece of string and secure that string well (it will be heavy).
Streamers!


Tune in next week for party activities!
No comments:
Post a Comment