
Week Eleven: Handmade Photo Key Chains, Part One
{all photos linked to source}
This was a particularly long project, which in turn means this is a particularly long post with a lot of photos. It might slow down your computer or take a while to load.
This was a particularly long project, which in turn means this is a particularly long post with a lot of photos. It might slow down your computer or take a while to load.
The Pin:

mod podge photo key chains
The Link:

My Crazy Life as a Farmer's Wife: Instructions for my key chains!
The Test:
(As part one, this is technically a test of the pin only. See, the link uses pre-made key chains purchased online. However, this was a test on the idea with the pin, which was to make the key chains using old cards.)
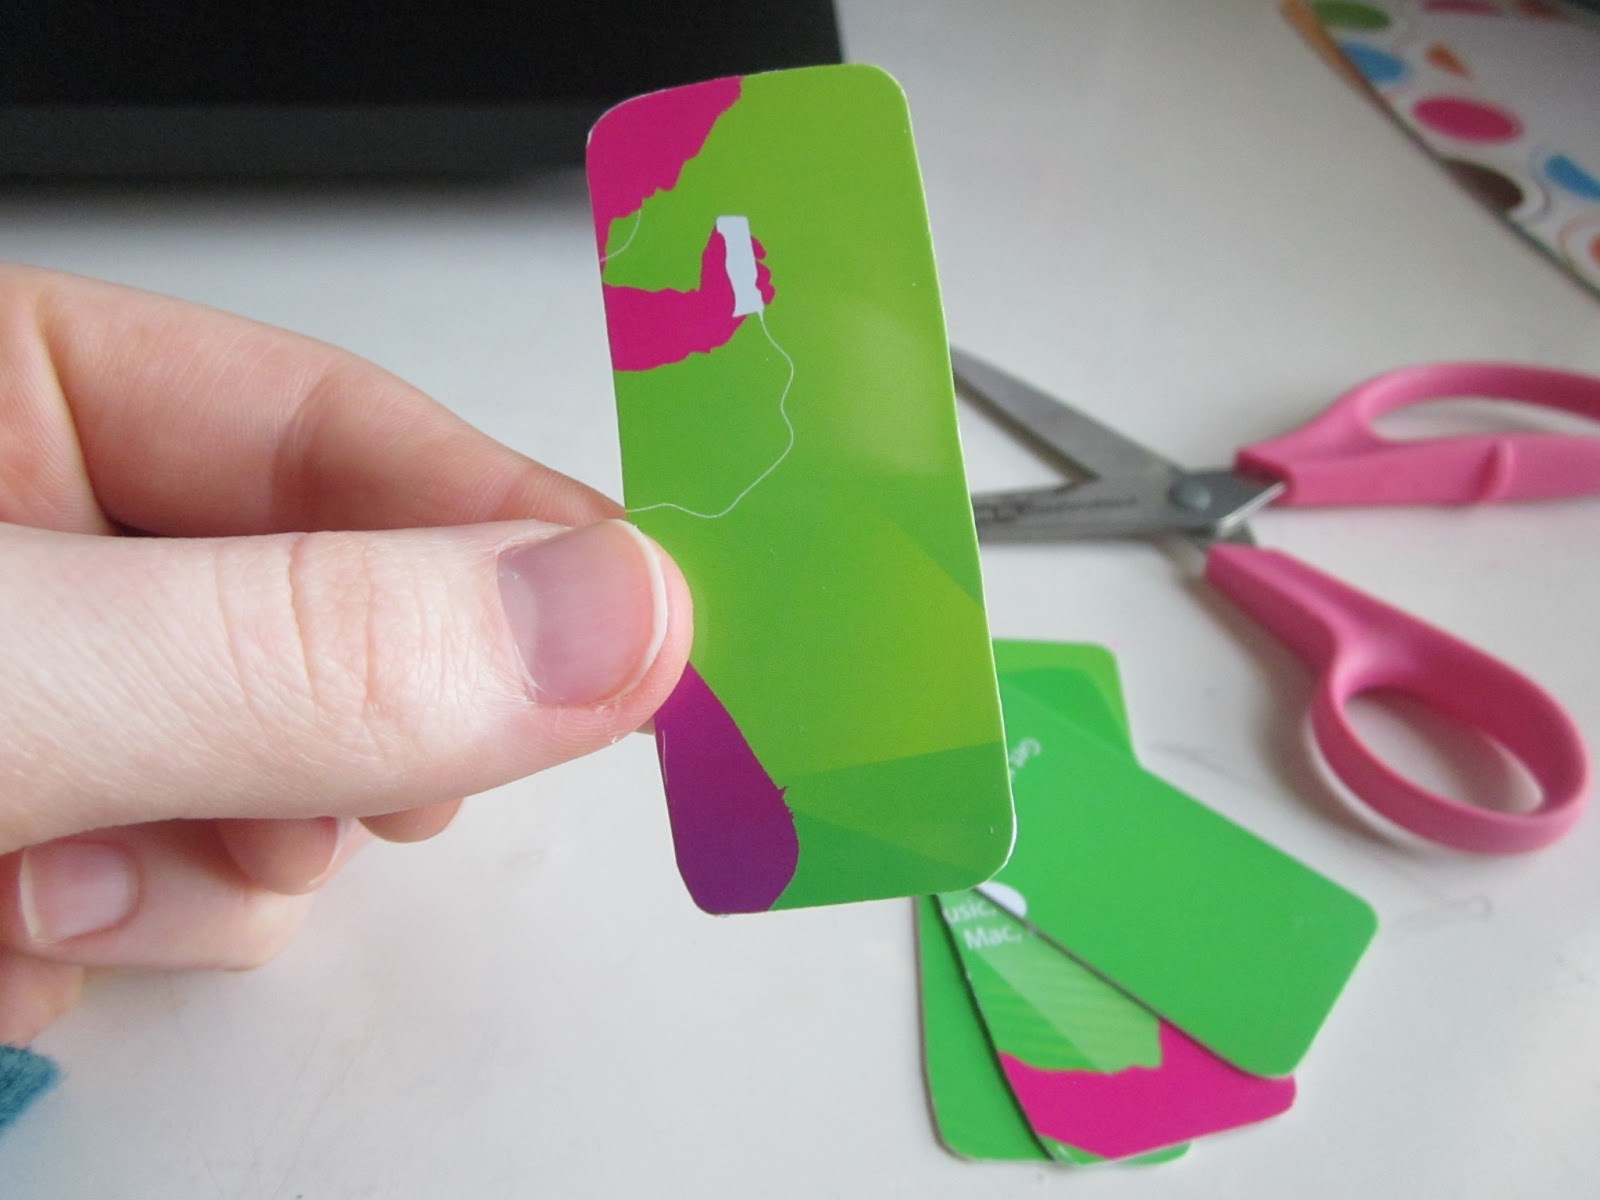
You'll need: At least one old gift/credit/debit card, scissors, ink pen (optional)

What to do: First, cut the gift, credit, and/or debit cards into rectangles about the size of the key chains you'll want. I really like how they all turn out a little different. Make sure to round off the sharp corners, too.


Now we need a hole to hang the key chains on. I learned later on that my holes, which I was afraid I was making too big, were actually too small. So be sure to make them a little bigger than mine!
This step is optional, but it really helped me: use the ink pen to put a dot where you'll want the hole.

Now line up the tip of your scissors with that dot.

And, a bit unconventionally, (try to be safe!) twist, turn, push and otherwise scrape your way into that little dot. Make sure not to crack, break, or shatter the gift card. Also, twisting the key chain between scissors and work space (like I did) may cause damage to the work space. This step is also time-consuming. Consider yourselves warned.


Although it feels like you're making absolutely no headway, eventually you'll get a small hole like this. That's where it gets a bit easier! Using your fingers to control and back the key chain, carefully and slowly wedge/twist your scissor tip into the hole until you get a visible bump on the back:

Line up your scissors with this, just like you did with the ink dot on the front, and repeat the dance of the scissors! Once you finally get a hole through, twist and push your scissors in until it's the size you want. Again, remember that you'll probably need holes bigger than mine. Learn from my mistake.

Hang with me! Just one more step to decorating-ready key chains! You see all that stuff sticking out around the edges of the hole? That'll be poking out on both sides. We have to get rid of that. Over a trash can preferably, line up the edge of your scissors against that poky gunk and scrape it off. It'll seem a bit like you're playing with a saw.

Do that on both sides, and voila! You're done and ready to decorate!


The Grade:
Stay tuned for decorating ideas and the grade in part two next Saturday!
No comments:
Post a Comment